Hamburger Icon WhiteHamburger Icon
Dulux TradeDulux Trade
Login/Signup
Dulux Trade
  • About Dulux
    Dulux My Home website
    Dulux Specifier website
    Privacy Policy
    Terms & Conditions
    Careers
  • Customer service
    Contact Us
    Find a Store
    Sustainability
    Dulux Group Corporate
  • Dulux in the Community
    Surf Life Saving New Zealand
About Dulux
  • Dulux My Home website
  • Dulux Specifier website
  • Privacy Policy
  • Terms & Conditions
  • Careers
Customer service
  • Contact Us
  • Find a Store
  • Sustainability
  • Dulux Group Corporate
Dulux in the Community
  • Surf Life Saving New Zealand
  • © 2026 Dulux

  • Recommended Sites
  • Terms & Conditions
  • Privacy Policy
  • Conditions of Sale
  • Policies & documents
Build: 1.2.39 - Tue, 13 Oct 2026 04:14:24 GMT
  1. Trade
  2. Technical Advice
  3. Technical Advice For Paint Applications
  4. How to Apply Acousticoat Ceiling Tile Paint

Acousticoat Ceiling Tile Paint

Dulux Professional Acousticoat is a specialist paint coating that has been designed for a specific purpose. Due to its specialist nature, it has to be applied correctly to achieve the desired finish and performance.
Best results are obtained when the coating is applied as detailed below.

Dulux Professional Acousticoat Ceiling Tile Paint Application Instructions

Masking Film
closeIcon
Close
Masking Film
Download

Application Guide: Step 1

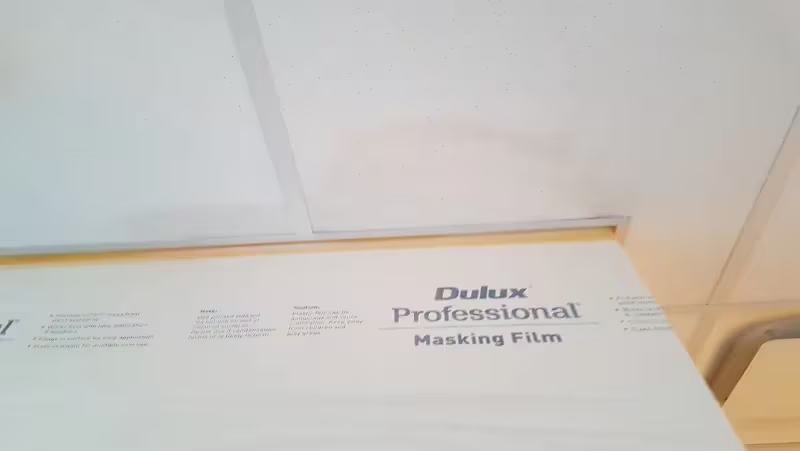
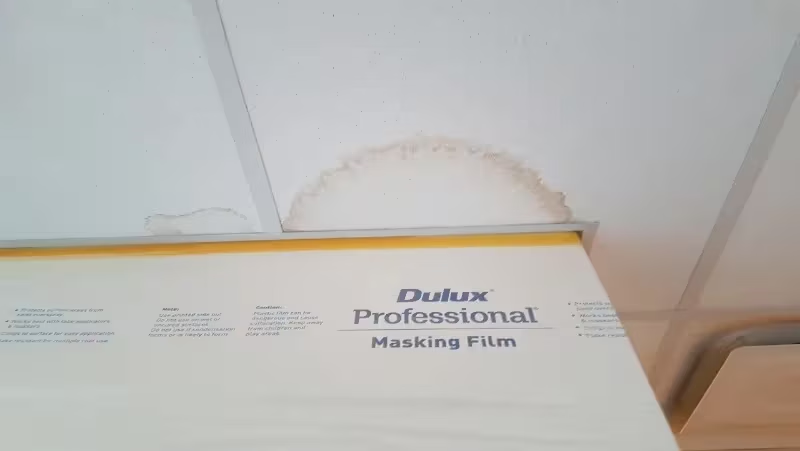
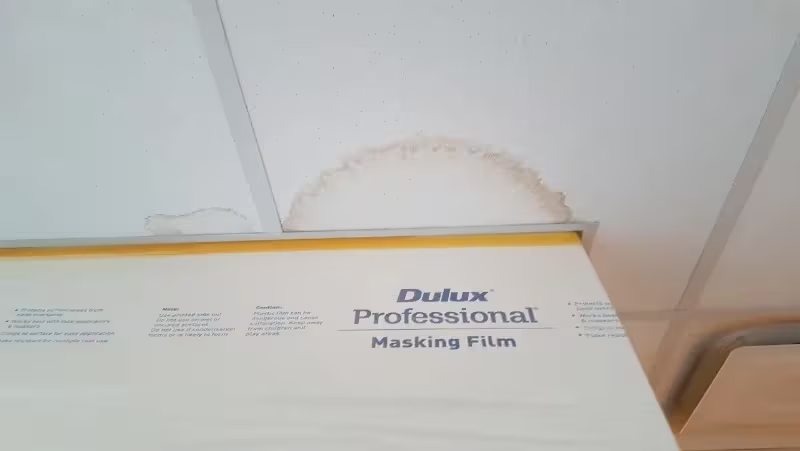
Inspect the area to be painted, making note of any stained and damaged tiles. Lightly stained tiles will need to be treated with a stain blocker prior to paint application, damaged tiles should be removed and replaced.
Masking Film 2
closeIcon
Close
Masking Film 2
Download

Step 2

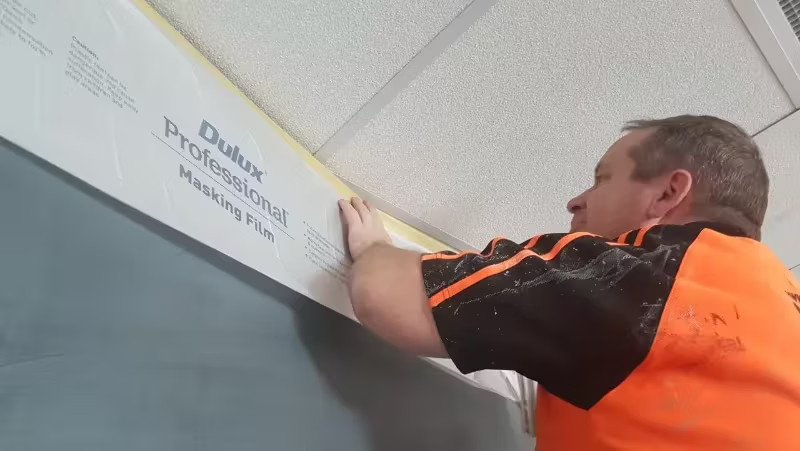
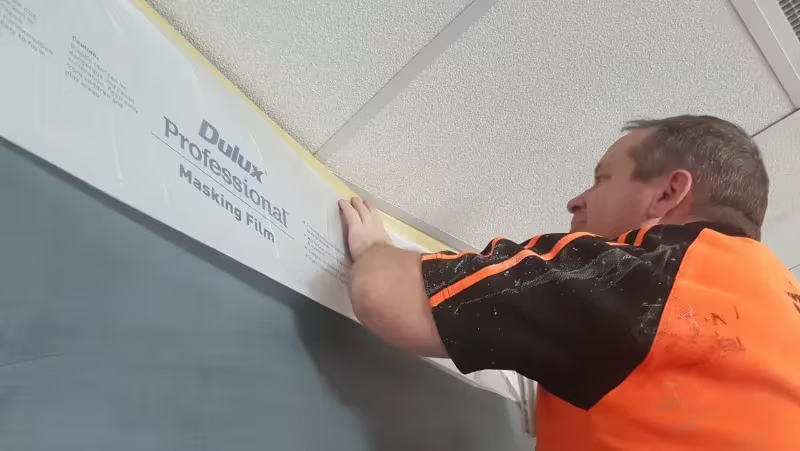
Begin masking up walls and other fixtures (lights, speakers, sprinklers) which you do not want to paint and use drop sheets to cover any furniture. The use of Dulux Professional Masking film eases the process of protecting areas. Any vents that are being repainted (i.e. are not masked up) should be cleaned with Selleys® Original Sugar Soap to remove any contamination and ensure good adhesion. Use a soft bristle broom/brush to remove any dust/cobwebs from the ceiling.
Masking Film 3
closeIcon
Close
Masking Film 3
Download

Step 3

Apply Dulux Precision Ceiling Stain Blocker to any areas which are stained and unsightly. As ceiling tiles are quite porous and will dry quickly, it is advisable to work quickly and ensure you apply an even coating. If the area is heavily stained, it may also be advisable to touch up tiles, with spray application, with a coat of Professional Acousticoat before commencing the full application process.

Step 4

After completing the preparation work, you can now apply the Dulux Professional Acousticoat Ceiling Tile Paint. We recommend applying with an airless spray gun using a 515 tip at 1500-2000 psi, or until “spray tails” are gone. The lower the pressure the less overspray.

Best results* are achieved when it is treated as a “mist” coat, with a 50% overlap and the product is applied in a quick motion keeping the tip greater than 60cm from the ceiling tile surface, making sure the ceiling gets one even coat. If flashing occurs after the ceiling dries, then the coating was applied improperly, with the film build not even over the whole ceiling. 

Step 5

Allow any overspray to settle (approx. 10-15 min after spraying), then begin unmasking fittings/fixtures. Care should be taken when unmasking walls to ensure that the plastic is bundled carefully to contain all dust that has been generated during the application process.

Any used film, masking tape and overspray dust should then be discarded. Prior to using the painted area, it is recommended to dust all areas down carefully and vacuum up any dirt or debris.

* If product is applied too slowly, the painted surface can look patchy and inconsistent due to the porosity of the substrate.

Related technical advice

Related technical advice

Dulux Aquanamel Application Guide

Dulux Aquanamel Application Guide

Follow these guides and videos on brush, roller and spray application to get the best finish on your next job.

Dulux Aquanamel Application Guide-->
Spray painting and back rolling

Spray painting and back rolling

Back-rolling is the term most often used in the paint industry to describe the manual process of dry rolling the freshly painted surface with a short to medium nap synthetic roller.

Spray painting and back rolling-->

Safety Data Sheets

Get detailed information about the physical and chemical properties of our products.
Safety Data Sheets-->

Technical advice

Advice for those challenges that arise in your busy and varied days.
Technical advice-->

DuSpec+

Access technical product information and create project specifications.
Explore the benefits of DuSpec+-->